
A well-designed roll-up banner is one that’s well-designed! The roller banner is a popular advertising tool used for business occasions, including trade exhibitions.
They make your event more noticeable and effectively convey your brand’s message to both current and prospective customers.
The process of creating your own Best Value Roller Banner can be easy after you’ve mastered the idea. This is a brief guide for making a unique roll-up-style banner.
Returned To Basics
The first step to make your banners for rollers is to create the proper design file. Proper file set-up ensures quality roller banner designs every time.
1. The Dimensions
The first step is to pick a banner that is appropriate to fit your business’s requirements for marketing. Make sure you know the exact dimensions of the banner you select.
Do not be concerned about the initial large file size. There is a way to decrease it by reducing resolution later on.
2. The Resolution
The standard resolutions of banners have a resolution of 150 DPI. Most people look at banners from a distance Therefore, a larger resolution isn’t needed.
Another benefit is that reducing resolution of images makes it easier for computers to process the image.
3. The Colours
Printing any Outdoor Roller Banner requires you to utilise an CMYK Color Mode. Making use of CMYK will give you an understanding of exactly how the colours of your roll-up banner look when it is printed.
4. The Bleed
The bleed is an important part of your design. It prevents thin white lines appearing as the cutting machine expands over the cut lines. Create a bleeding of 5 millimetres all in the area around your banner.
5. The Margin
Margins are guidelines to prevent important information from being damaged when your cutting tool cuts within the cut lines. The margins of pop-up banners differ from normal banners.
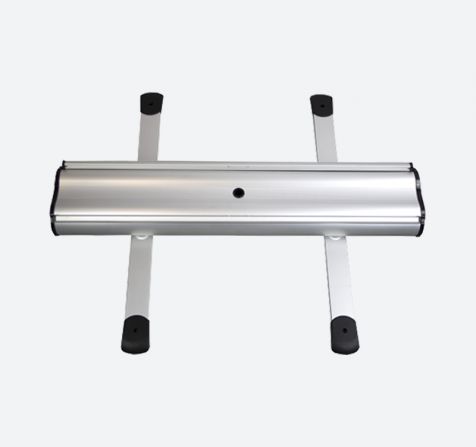
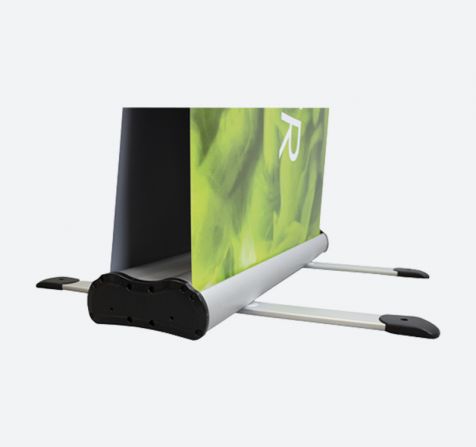
It is essential to pay attention to how the banner is moved around its base. The standard margins for an average roll banner are 10 millimetres at the top, 150mm at the bottom and 4 millimetres on the left and right sides.
Designing Roller Banners
Are you having doubts about starting your roller banner design? Here are some simple and practical tips to design an effective roller banner. These tips will aid you in creating the most attractive banners.
1. Logo Up Top
People generally view Wide Tension PVC Banner from uppermost point to bottom. Increase brand visibility by placing your logo on the topmost area of your banner so that everyone can see.
2. Information Flow
The reader reads from beginning to the end. Take note of this when you write down any details or the elements of your layout.
3. The Most Suitable Colours
Choose colours that match the image of your company. You must be able to attract attention, colours should also assist in conveying your message.
Different colours can communicate different ideas to viewers. Be sure to keep the psychology behind colour in mind when designing the banners for your rollers.
4. It’s All Important
It’s not required to include every single detail about your business on your banner that you roll up. Make sure to include only the most crucial information about the image of your company, the group you’re part of, what your business operates, and what products and services you offer.
The entire information that potential customers should be aware of. Customers are able to find more information from brochures and catalogues.
5. Quality Images
Make use of high-quality graphics, images and illustrations to create posters for rolling. Graphics of high-quality give your clients an impression of an authentic, professional business.
6. Promotions Unite
Make sure that your pop-up banner’s design is compatible with your other branding tools. It helps customers recognize and identify your marketing materials with the brand of your business.
7. Read It
The correct font can help convey your brand’s message to potential customers. Certain fonts appear professional, friendly, or casual.
A crisp and easy-to-read font with a width of at least 72 pixels makes it easier for readers to understand the information that is given.
8. Get Creative
Do not be afraid to experiment with various styles. Playing around with different styles, fonts and colours can produce impressive banners that roll up. However, make sure to check and tweak your banners to make sure they’re effective.
How Do You Create The Perfect Banner For Rollers?
Many Of Our Customers Are Excited To Take Advantage Of The Banners We Created In-House Design.
It’s generally easier, faster and more affordable to engage the professionals to design stunning designs for your company especially since we provide several templates of various sizes that could be downloaded to help you in creating the design.
Learn how to design the perfect custom-made banner for your business in just eight simple steps.
Step 1: Choose The Size And Requirements Of Your Banner.
At the beginning, you’ll have to decide what size of your Banners & Frames to take into account the space accessible in the space where is most likely to be utilised.
It is also crucial to determine if your banner will need for outdoor display or inside according to the intended use. This will determine the materials that should be used in the production process.
Don’t worry There are plenty of options available to businesses that want to make a great impact with the marketing material they use.
Step 2: Insert Your Logo.
It’s not a surprise that your corporate name must be include in the design for your banner. A lot of design professionals suggest that you put your logo directly over the banner to the highest amount of prominence.
Make sure you use an image that has a high resolution to avoid blurring the image. An image with a low resolution can impact the final design.
Step 3. Write Your Main Message.
Next step to add your message into the template.
Make sure the title is short and clear. It is recommend to place the title within the top third of your layout. The message should be place prominently place to ensure maximum visibility.
Step 4: Include A Body Language Part.
It’s time to discuss the product, service, or event in only a few words or bullet points.
It is important to ensure that your text is align in a way that makes it easy to and clear. Text that is not organised or has abstract layouts may leave readers confuse. It is suggest to make use of the same font you use to create the title.
Step 5: Make Use Of High-Quality Images.
Each professional banner must be support by bright images. But, the most important aspect similar to branding is to select images clear and appropriate for large-format advertisements.
Sometimes there is a limit to what you can do when it comes to your artwork. So don’t hesitate to choose a single amazing, beautiful image instead of a group of pictures that is smaller.
Make sure that the images or illustrations you choose to use are located within the center of the layout. Don’t impair or hinder the design.
Step 6: Add Your Contact Details.
The aim for your roller banner is making it simpler for potential customers to get in touch with your business. Make sure you include your contact number, email or address your URL for your website and social media handles so that they are aware of where to go to find out more.
Step 7: Proofread The Work.
We’re not sure how many times we’ve observed clear-cut mistakes made on company banners!
Incorrect spelling or grammar can cause a negative impression to your readers. Therefore, you must review every piece of content several times to make sure you have not missed anything on the web.
Step 8: Let The Style To Breathe.
It’s tempting, in the interest of cramming every aspect of your banner as much as you can. But if you want to develop a professional-looking, well-balanced design, it’s hugely important to make sure there’s enough space for your message to ‘breathe’.
It is essential to ensure that you have sufficient space between the sides, on top and bottom of the design. It will make sure that your design doesn’t clutter.


